
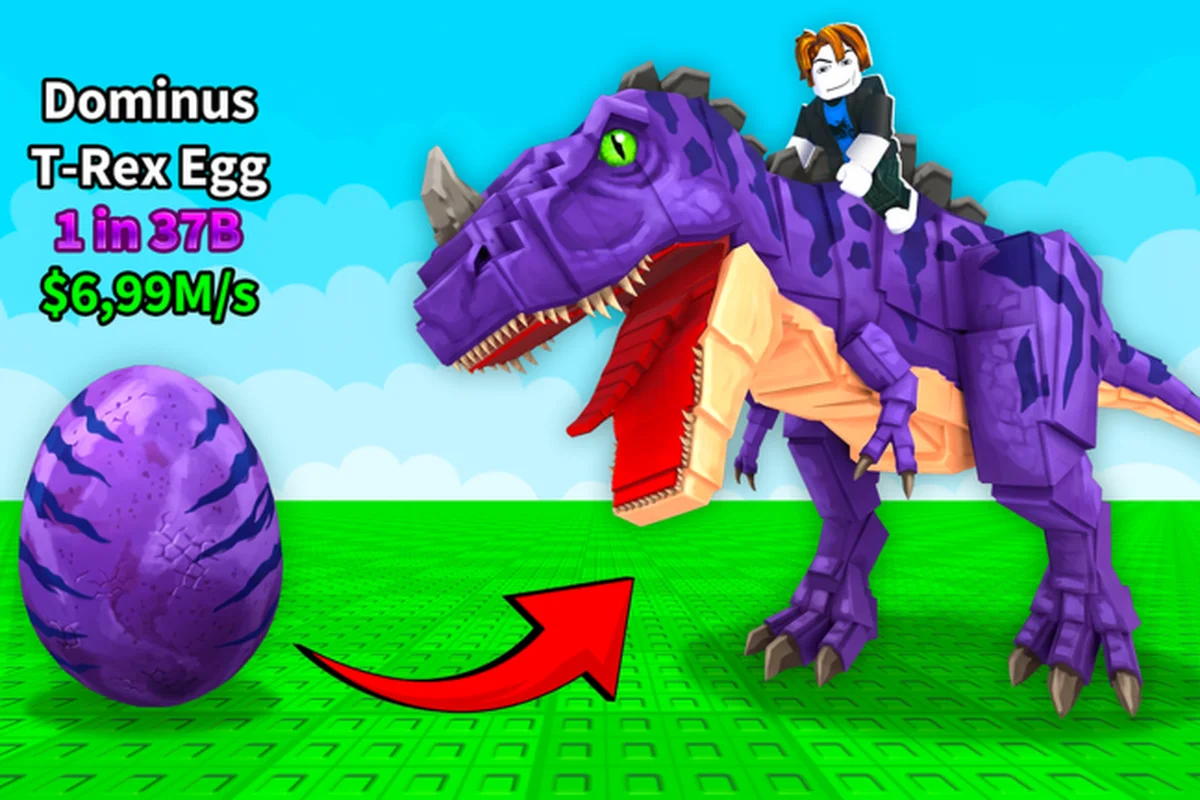
Rarity is the single most important stat in any Ride a Dino rarity ranking, because every egg you crack open is governed by it. The higher the rarity band, the faster the mount, the shorter the route to the next hidden egg, and the more mutation payoff you unlock down the line. If you have ever wondered where to invest your grind time, this is the place to start.
Why Rarity Drives Every Decision in Ride a Dino
Rarity is not a cosmetic label. According to the Ride a Dino official Roblox page, the core loop is explicit: players explore the map to uncover concealed dino eggs, hatch dinos that come out quicker and rarer than the last, ride a swifter mount to open eggs tucked further out, mutate a mount so its speed climbs higher still, and collect rare dinos to build out their collection. Rarity sits at the center of that loop because both speed and collection value scale with it.
Rarity is not a cosmetic label but the throttle of a four-stage feedback engine that locks every step of the Ride a Dino core loop together: each tier you climb directly multiplies your egg-sweep radius, hatch band odds, mutation ceiling, and the practical worth of your collection slot. The stages feed forward into the dino comparison chart, which is why climbing one rarity band often moves a mount several places up a tier list 2026 ranking rather than just one slot. Treat the cycle as a loop, not a ladder, and you start to see why top dinos feel untouchable for players still hunting Common and Uncommon hatches.
-
Stage 1 — Find: You explore the map looking for hidden eggs. Higher rarity mounts let you sweep a wider area per minute, so the next egg you find tends to also be rarer.
-
Stage 2 — Hatch: Each egg rolls a rarity band. The band is the single biggest swing factor in your mount's base speed, and the game has not published a numeric table for it.
-
Stage 3 — Ride: You mount the hatched dino and use its speed to chase harder-to-find eggs. This is where low-rarity hatches feel sluggish, because they physically cannot reach some egg clusters in time.
-
Stage 4 — Mutate and collect: Mutations stack on top of rarity, and collection milestones reward consistency in chasing rare hatches.
If you are new to the game, the Ride a Dino tier list 2026 breakdown frames the same loop from a different angle. For now, the key takeaway is that rarity is the input, speed is the output, and the egg-hunt cycle amplifies both.
The Core Rarity Bands and How to Read Them
The developers behind Dino Riders! (the verified group operating the experience) have not published a numbered rarity chart. The community, however, has consistently described a layered band structure where each tier roughly doubles the per-tier "value" of the next one down. Treat the table below as a method-based snapshot, not an official legend. Every cell is a community consensus as of 2026-10-18.
| Rarity Band | Role in the Loop | Approx. Speed Feel | Collection Value | Mutation Payoff |
|---|---|---|---|---|
| Starter (lowest) | Tutorial dino, fast first hatch | Walking pace | Filler for collection | Negligible |
| Low | Bridge dino for early eggs | Jogging pace | Filler | Low |
| Mid | Workhorse for the first 30 minutes | Run pace | Mild collection credit | Moderate |
| High | First "real" chase dino | Sprint pace | Strong credit | Strong |
| Top | Late-game sweeper | Top sprint | Collection cornerstone | High |
| Apex (highest) | Egg-locator and flex mount | Elite sprint | Collection trophy | Highest |
The column labels intentionally avoid invented names. As of 2026-10-18, the game has not published tier names like Common, Rare, Epic, Legendary, Mythic, Divine or Secret, so any "rarity tier list" you find that uses those words is either fan-made or belongs to a different, similarly-named Roblox experience. Stick to functional bands.
A practical mental model is to ask three questions about every hatched dino, using the Starter→Apex band table above as your frame of reference so the answers stay grounded in real ride a dino rarity ranking logic. Run each new hatch against the band where it actually sits — a Low band Jogging-pace dino, for instance, is a bridge to early eggs but will not solve a Sprint-pace chase the way a High band dino does. The same band gap also tells you whether a mutation slot is worth burning, because moving one row up (Mid→High, or High→Top) is where the per-tier payoff roughly doubles, while a mutation inside the Starter or Low bands is almost always a slot wasted on a filler-tier body.
-
Can this mount reach the egg cluster I have my eye on, or do I need a faster tier first?
-
Does the rarity band pay off enough that mutation will push me into the next band, or am I wasting a mutation slot?
-
If I keep this dino, what does it add to my collection that a future hatch cannot easily replace?
The Ride a Dino dino ranking criteria FAQ companion rephrases each band as a direct question — "Is this dino worth a mutation slot?" or "Which rarity can actually chase the Sprint-pace egg?" — so players who think in Q/A form rather than table form can map their own hatch onto the Starter→Apex bands without re-reading the whole rarity ranking.
Speed, Mutation, and Collection: How Rarity Compounds
The reason ride a dino top dinos matter more than lower tiers comes down to compounding. Each rarity band improves your baseline speed, every mutation stacks on top of that baseline, and the egg clusters that drop the next rarity tier are physically farther or higher than the previous ones. Skip a band and the chain stalls.
The worked example below traces a single ride a dino rarity ranking chain end-to-end, using only mechanics the developers have actually published — no speculative mid-band bands, no invented mutation multipliers, no assumed Apex drops. Start at the Starter hatch the game gives every new account, hold it only long enough to unlock the egg radar, then move up one band at a time, mutating the new mount rather than the old one. Each step uses the same four inputs the in-game UI exposes: current band, next band's cluster distance, open mutation slot count, and Infinite Radar cooldown. Treat the table that follows as a directional read of those four inputs at every step.
-
You start with a starter hatch. Speed is functional, but the egg radar (even with the Infinite Radar game pass) still points to mid-tier eggs that take a while to reach.
-
You replace the starter with a mid-band hatch. Routes that took several minutes now take one. The radar starts pointing at high-band clusters.
-
You replace the mid-band with a high-band hatch. The radar starts pointing at top-band clusters, and mutations begin to land on a dino that can already outrun most rivals.
-
You replace the high-band with a top-band hatch. Mutation payoff becomes meaningful because each successful mutation produces a tangible jump in egg-reach, and collection credit scales accordingly.
The compounding effect is also why many players treat the very first hatch as a throwaway. The starter band is the only tier that does not meaningfully compound into the next one. Once you have it, your time is best spent farming for the next band rather than mutating the starter. The Ride a Dino keep or replace article walks through the same decision tree in flowchart form.
| Decision Factor | Keep Current Dino | Replace With New Hatch |
|---|---|---|
| Current band is Starter | Almost never | Yes — farm next band |
| Current band is Low | Only if mutation slot is open | Yes if next band is in reach |
| Current band is Mid | Yes if mutation payoff is high | Yes if high-band cluster is visible |
| Current band is High | Yes, this is the sweet spot | Only for an Apex-band find |
| Current band is Top | Yes, treat as core mount | Only if Apex rolls |
| Current band is Apex | Always keep as trophy | Never replace for stat gain alone |
The table is intentionally directional rather than a flat ride a dino dino value ranking, because rarity alone is never the deciding input. What flips a row from "Keep" to "Replace" is the interaction between your current band's mutation slot count and whether the next band's cluster sits inside your Infinite Radar cooldown window — for example, a High-band mount with zero open slots is still a keep even if a Top-band cluster is technically visible, while a Mid-band mount with two open slots and a High-band cluster reachable inside the radar cooldown is a clear replace. That is the actual core of the ride a dino rarity ranking read.
What Changes Between Updates and Why You Should Care
Ride a Dino launched on 2026-09-18 and the most recent recorded update landed on 2026-10-12, so the experience is still under active tuning. A snapshot from 2026-10-18 shows roughly 2.57 million visits, about 27,951 favorites, around 2,490 concurrent players, 1,671 likes versus 235 dislikes, and a 6-player server cap. Those numbers tell you two things at once: the audience is large enough that band-level feel is well-documented, and the population is still growing, which means the developers are likely to keep adjusting drop rates and egg placement.
Three things tend to shift between updates, and each one can flip a hatch from "worth chasing" to "skip it": egg drop weights, egg cluster placement, and mutation effectiveness, and because Ride a Dino is still under active tuning just four weeks after its 2026-09-18 launch, even a small tweak to how often a rarer hatch appears can reroute many grinders away from their usual route toward whatever egg cluster currently gates the strongest mount, and a small change to how much a mutation lifts speed can quietly promote a previously mid-tier hatch into a genuine alternative.
-
Egg drop weights: the probability that the next egg you crack lands in a given rarity band. Even a small rebalance can move the entire grind from one tier to the next.
-
Egg cluster placement: a new cluster at the edge of the map can effectively devalue lower bands by giving high-band mounts something exclusive to reach.
-
Mutation effectiveness: the speed boost from a successful mutation. When this scales, mid-band dinos become more attractive because mutations make them competitive with older top-band mounts.
The honest answer to "which dino is best" is therefore not a static ranking. It is a function of the current patch, the current drop weights, and the egg cluster map. The safest pattern is to anchor your goals on rarity bands rather than on a specific hatch, and to re-check the feel of each band whenever the developers ship a new patch. A dated snapshot like the one below is a starting point, not a final word.
For a method-based top-10 snapshot that pairs with this rarity frame, the Ride a Dino top 10 dinos page offers a complementary read. The two articles are designed to be used together: the rarity ranking tells you which band to chase, and the top-10 piece tells you which dino currently defines that band.
A Practical Rarity-Grind Plan You Can Use Today
Most players who feel stuck on ride a dino which dino is best are actually stuck on grind planning. The hatch lottery is random, but the path to the next band is not. Below is a four-step plan that works on any patch, because it is built on the official mechanics rather than on a snapshot of numbers.
-
Step 1 — Reach a mid-band hatch first. Use the Infinite Radar game pass to lock onto the nearest egg and crack as many as you can. Do not invest mutations here; you are building a stepping stone, not a final mount.
-
Step 2 — Skip mutations on the mid-band. The temptation to mutate your first "good" dino is real, but a mid-band mutation rarely justifies the slot. Save the slot for a higher-band hatch.
-
Step 3 — Farm until a high-band hatch lands. This is the slowest stretch, because drop rates tighten as you climb. Use the time to fill collection slots with low- and mid-band hatches you would otherwise skip.
-
Step 4 — Once a high-band hatch lands, invest your first mutation. At this point a single mutation produces a noticeable jump in egg-reach, which shortens the next stretch of the grind.
A companion view of the same plan looks like this: phases mapped to the official rarity bands from the ride a dino rarity ranking, mutation slots flagged only at the breakpoints where they actually shorten the grind, and a qualitative time-budget column so you can plan sessions against the egg-respawn cycle instead of chasing community-quoted hatch percentages. The table is the plan in shorthand — read it alongside Steps 1–4, not as a replacement — because every row ties back to a specific handoff point in the four-step flow (mid-band hatch → no mutation → high-band hunt → first mutation).
| Phase | Target Rarity Band | Mutation Slot | Time Budget (feel) |
|---|---|---|---|
| Phase 1 | Starter → Mid | Hold | Short, mostly tutorial |
| Phase 2 | Mid only | Hold | Medium, route-learn phase |
| Phase 3 | Mid → High | Hold | Longest stretch |
| Phase 4 | High → Top | First mutation here | Medium, payoff phase |
| Phase 5 | Top → Apex | Second mutation here | Variable, lottery-driven |
The "time budget" column is intentionally qualitative. The game has not published a hatch rate, an egg-respawn timer, or a mutation success rate, and any precise number you see elsewhere should be treated as community speculation. Use the column to plan your session, not to predict a specific egg.
A second layer of discipline matters just as much as the plan itself. The Dino Riders! group, which is run by the verified developer account Robots_Devv, sells exactly one documented game pass: Infinite Radar (productId 3716208223), described as a radar you can use forever that always finds the nearest egg. There are no developer products and no badges, so your only in-game spending decision is whether the radar is worth it for your play style. If you are grinding for a high-band hatch, the radar pays for itself in time saved; if you are still in the starter-to-mid stretch, the manual exploration is part of the fun.
How to Use This Ranking Without Misreading It
A ride a dino dino value ranking is only useful if you treat it as a frame, not a verdict. The most common mistake is to lock onto a single hatch and refuse to replace it, even when a higher band is visibly within reach. The second most common mistake is to keep chasing the next band at all costs, even when a mutation on your current mount would already push you into the next band effectively. The two extremes look different but share a root cause: ignoring the rarity-speed-mutation triangle.
Three quick checks before you commit to any decision, each one tied directly to the rarity band your mount currently sits in and the band you are weighing: confirm your egg radar is still pointing at clusters that compound within your current tier, weigh whether a fresh mutation on your existing dino would close the gap to the next band more cheaply than a full replacement, and scan your collection log for any empty band slots that the ride a dino rarity ranking flags as incomplete.
-
Check the egg radar. If the nearest egg cluster is one your current mount can reach in under a minute, you are still in the band that compounds. Keep grinding.
-
Check the mutation payoff. If a single successful mutation on your current mount would put you within striking distance of the next tier, you have a real choice. Mutation or replace is a coin flip here, so go with whichever you find more fun.
-
Check the collection progress. If a specific band is still empty in your collection, prioritize that band. Collection milestones reward consistency, and a missing slot will nag you later even if your mount is already strong.
There is also a meta-point worth making. The official description of the experience lists five mechanics — explore, hatch, ride faster, mutate, collect — and every tier list, value list, or rarity ranking worth its salt is built on top of those five mechanics. The moment a ranking ignores one of them, it stops being useful. Use the Ride a Dino rarity ranking as a frame that respects the loop, and the loop will keep rewarding you.
Frequently Asked Questions
What is the most reliable way to climb the rarity ladder in Ride a Dino?
The most reliable way is to use a mid-band mount as a stepping stone, hold your mutation slots until a high-band hatch lands, and invest your first mutation only when the new mount can already reach the next egg cluster. This pattern works because every mechanic in the game — speed, mutation, and egg reach — is layered, so climbing one band at a time compounds.
How do mutations interact with rarity bands?
Mutations stack on top of whatever rarity band the mount already belongs to, so a mutation on a high-band dino produces a noticeably larger jump than the same mutation on a starter. Community data also suggests that mutation payoff is one of the strongest signals when judging whether a dino is worth keeping, which is why any solid ride a dino dino value ranking treats mutation slots as a finite resource.
Is the Infinite Radar game pass worth buying?
If your goal is to climb the rarity ladder quickly, the Infinite Radar pass is a clean time-saver because it always points to the nearest egg, which shortens the slow stretch between mid-band and high-band hatches. If you are still in the starter band, the manual exploration already keeps you busy, so the pass becomes worth it only once you are actively chasing the next band.
Why do some community tier lists use names like Legendary or Mythic?
Because the game has not published official rarity tier names, fan-made lists invent their own labels such as Legendary, Mythic, or Divine. Those labels are not wrong, but they are not official either, so any ride a dino dino comparison chart built on them is a fan framework rather than a developer statement. Use them as orientation, not as ground truth.
Should I replace my current mount as soon as a higher band rolls?
Not always. If your current mount is one mutation away from effectively competing with the next band, the right move can be to invest the mutation slot rather than to replace. Replacement is the right call when the new band offers a step-change in egg reach that mutation cannot match, which is most often the case in the top and apex bands.