
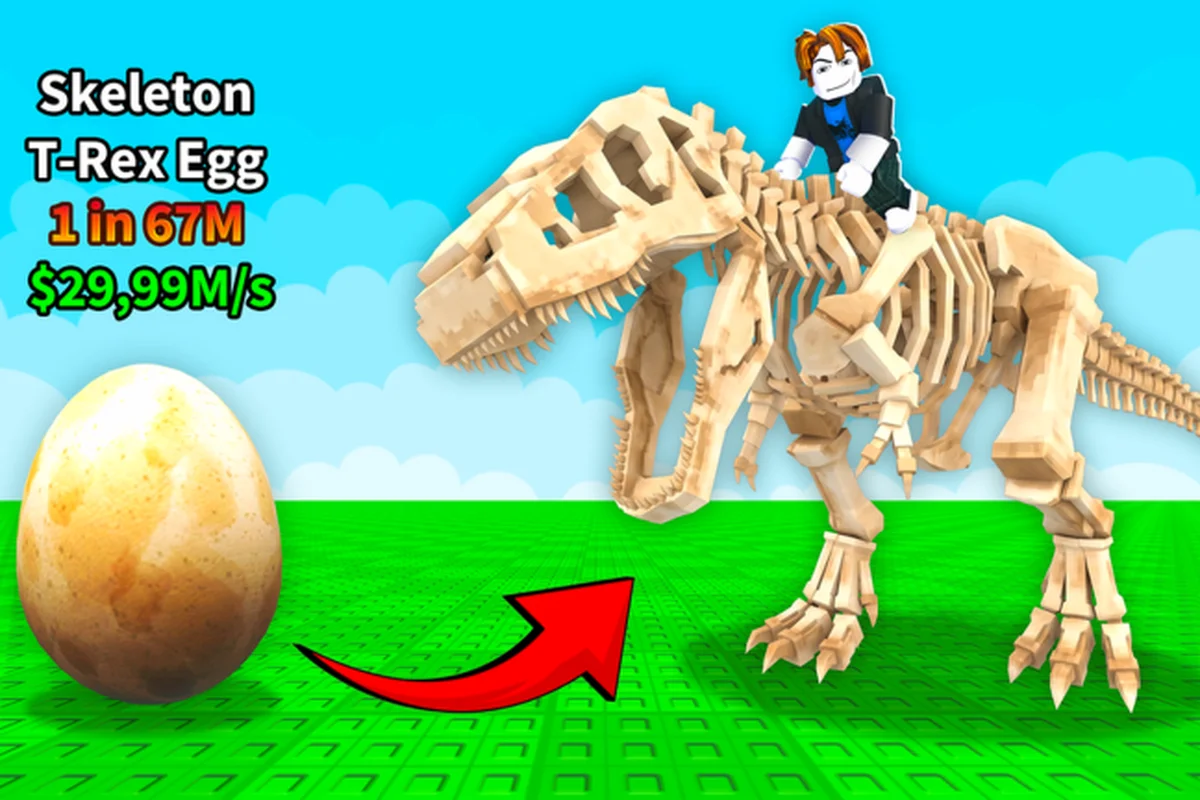
Building a full roster in Ride a Dino is the long-form goal of the entire game loop, and the official Ride a Dino page on Roblox describes it as a five-step cycle: explore the map for hidden Dino Eggs, hatch dinos that come out quicker and rarer than the last, ride a swifter mount to open eggs tucked further out, mutate them for additional speed, and collect rare dinos to build out the collection. Because the developer has not published a species list, a rarity tier list, or any numeric speed or drop values, the best a player can do is build a method that works regardless of which patch is live. This ride a dino collection guide walks through the loop in that method-first order, with priority rules, tracker advice, and update caveats that hold up even when individual numbers shift.
A quick note on what this guide can and cannot promise: as of 2026-10-18, the experience lists exactly one game pass — Infinite Radar — and zero badges, zero developer products, and zero redeem codes. The group behind the experience, Dino Riders!, last pushed an update on 2026-10-12, only thirty days after launch, so balance passes are still landing on a short cadence. Anything you read below is written for that state of the game and may shift with the next patch.
How the Five Collection Steps Connect
The collection loop in Ride a Dino is short to describe and long to actually complete, because every step feeds the next one. You search the map for hidden Dino Eggs, hatch them into a mount, ride that mount to reach more remote egg spawns, and use mutation to push the mount's speed even higher. The moment you have a mount that moves faster than your starter, your effective search radius expands, which raises the average rarity of eggs you can reach, which raises the average rarity of new hatches. Once that cycle is running, collecting rare dinos stops being random and starts being a function of how deep into the loop you already are.
The Five Official Steps
The five mechanics named on the official page are the only ones this guide treats as confirmed, and every step in the table below — Explore, Hatch, Ride, Mutate, and Collect — maps directly to a developer-published action that the in-game Dino Collection tracker records as permanent progress. Anything else, from a whispered "Mythic tier" rank to a specific mutation name, is fan-made vocabulary that shifts between wikis and Discord servers, so anchoring your collection goals to those five official mechanics keeps the tracker counts and the dino collection log from drifting out of sync.
| Step | Official mechanic | Player-facing effect |
|---|---|---|
| 1 | roam the map and uncover concealed dino eggs | Source of every new mount |
| 2 | hatch dinos that come out quicker and rarer than the last | Converts an egg into a rideable |
| 3 | ride a swifter mount to open eggs tucked further out | Unlocks new search radius |
| 4 | mutate a mount so its speed climbs higher still | Multiplier on step 3 |
| 5 | Collect rare dinos to build out your collection | Permanent progress |
Anything beyond those five mechanics — a whispered "Mythic tier" ranking, a custom mutation label like "Shadow Strike," or a fan-coined dinosaur nickname — is community shorthand that drifts between the Fandom wiki, Discord servers, and Reddit threads, and it has no direct effect on your Dino Collection tracker or your in-game dino collection log; that is why this guide deliberately ignores those labels and instead anchors every collection goal to the five official steps, so your permanent progress stays verifiable.
How Each Step Feeds the Next
The reason the loop compounds is that speed is the single shared resource across the whole game. A faster mount does not just let you cross the map quicker; it lets you reach egg spawns that were effectively off-limits to you on a slower mount, which means every unit of speed is also a unit of collection progress. Mutation is the only confirmed way to push that shared resource past what hatching alone can give you, and because mutation stacks on top of base speed, its value grows the higher your base speed already is. A mid-tier mount that you fully mutate may out-value a higher-tier mount that you never bother to mutate, because the mutated one can simply go further.
What "Collection" Actually Means Here
Because the developer has not published a species list or a completion number, "completing the collection" is itself an under-defined goal. In practice, players track it as one of three things, and the one you pick will change how you play.
Three Working Definitions of Completion
| Definition | What "done" looks like | How long it takes |
|---|---|---|
| Egg-clear | You have opened every egg you can find on the map in a session | Tens of minutes per clear |
| Roster-broad | You have hatched at least one of every rarity tier the community has named | Hours to days |
| Roster-deep | You have hatched multiple copies of each tier, including mutated variants | Weeks, and arguably never |
The first definition is the only one the game can verify on its own. The other two describe community-made trackers, which is why a ride a dino collection log is so useful: it externalises the rules so the game does not have to. If you want a single in-game goal that does not depend on community labels, "egg-clear every session" is the honest answer.
Why a Tracker Helps Even Without a Numbered Dex
Even though the developer has not released a numbered Pokédex-style index, tracking still pays off. Once you write down which egg locations you have cleared and which mounts you have already hatched, you stop re-hatching duplicates of the same low-tier mount and you start noticing which routes reliably produce higher-rarity hatches. That is the real function of a tracker: not "did I get the last one," but "where am I leaving time on the table." If you want a deeper look at how to structure that log, the collection progress walkthrough covers how to record both hatches and route coverage so the tracker actually feeds back into the next session.
Building a Collection in the Right Order
The mistake most new players make is treating the collection as a horizontal checklist: hatch one of every egg, then move on. The mechanic loop does not reward that. It rewards a vertical climb, where every early hour is spent raising the speed of one or two mounts so that the next hour of egg-hunting is twice as productive.
Phase 1 — Establish a Baseline Mount
The first goal of any new save is to stop riding whatever the game gives you for free and replace it with a hatched mount that has a meaningful speed improvement. Mutation is not the right tool for this phase because it multiplies a base value that is still close to zero; you are better off hatching twice or three times and keeping the fastest result. Riders who skip this phase and try to mutate a starter end up with a mutated starter that is still slower than a non-mutated mid-tier hatch.
| Phase | Goal | Time budget | Output |
|---|---|---|---|
| 1 | Replace starter with a faster hatch | First 20-40 minutes | One serviceable mount |
| 2 | Push mount speed with mutation | Next 30-60 minutes | Same mount, higher tier |
| 3 | Use the faster mount to reach new egg zones | Ongoing | Wider search radius |
| 4 | Hatch a second mount from a rare zone | Once phase 3 unlocks it | A second mount in the roster |
| 5 | Repeat phase 2 on the second mount | Ongoing | Two strong mounts, not one |
The reason to invest in mutation early on a single mount, rather than spreading it across several, is that the cycle of "ride faster → reach rarer eggs → hatch rarer dinos" is bottlenecked by your single fastest mount. Two slow mounts do not help you reach the egg zone that one mutated mid-tier mount can already access.
Phase 2 — Layer Mutation Carefully
Mutation is the only confirmed speed boost mechanic that applies to an already-hatched mount, which makes it the highest-leverage resource in the game. The catch is that the official description says mutation "boosts their speed even more," not that it adds a fixed number, and the developer has not published a cap or a curve. Treat each mutation as a unit of speed and stop spending them when the next mutation no longer changes which egg zones you can reach. The collection versus speed breakdown goes deeper into how to tell when you have hit that plateau, but the short version is: if a mutation did not unlock a new zone, it was probably spent on the wrong mount.
Phase 3 — Add a Second Mount, Not a Tenth
A common mis-allocation is to fill the roster with ten low-tier hatches and then complain that none of them are useful. The loop rewards depth on a small roster because the next egg zone is gated on your single fastest speed, not on your average speed. Two strong mounts will both reach zones that a roster of ten weak mounts cannot, because each of the two is individually fast enough. A wider roster only matters once you have enough speed to actually clear the high-rarity egg zones in a reasonable time, at which point the second mount starts earning its slot by being a backup for when your primary is busy.
Tools and Habits That Support a Collection Run
A collection run is mostly logistics: where you spawn, how you record what you find, and how you avoid burning the same hour twice. The mechanics themselves are short, but the meta around them is where time is actually saved.
How the Only Pass Shortens the Search
The only documented game pass is Infinite Radar, and its listing describes it as "a radar you can use forever. Always finds the nearest egg." That description is unusually direct: the pass removes the search step, not the hatching step or the mutation step. So the time it actually saves is the time you would otherwise spend walking around the map looking for a hidden egg. If you spend most of your session on the search step, the pass is high value; if you already know the egg routes by heart, it is closer to a quality-of-life buy than a progression unlock. Either way, it is the only paid advantage the developer publishes, and there is no second game pass to consider.
Recording What You Hatch
Capture only the fields that drive your next collection decision — the egg route, hatch rarity feel, mutation count, and current speed — and leave the rest out. A bloated log that tracks every stat per mount will stall within a week, while a tight four-field entry can be filled in under twenty seconds at the hatch site, keeping your dino collection tracker usable across dozens of runs.
| Field | Why it matters | Example |
|---|---|---|
| Egg location | Tells you which routes produce higher rarity | "North ridge, third spawn" |
| Hatched rarity (community label) | Lets you notice which routes are over-farmed | "Mid-tier" |
| Mutation count at hatch | Helps you see whether mutation payoff is dropping | "0 mutations applied" |
| Current speed tier | Tracks when a mount crosses into a new egg zone | "Reaches the lava ridge" |
Anything beyond those four fields is decoration. Players who try to record the full state of every mount end up abandoning the log within a week, and a log you do not maintain is a log you do not have.
When to Walk Away From a Route
Routes in Ride a Dino stop being productive before they stop producing eggs, because the egg distribution is not uniform. The fastest way to lose an hour is to keep re-clearing a low-rarity spawn once you already have a mount that can reach a higher-rarity one. A simple rule of thumb: if your current mount can reach a new zone, leave the old zone even if it is still spawning eggs. The egg-route planning guide maps the kind of progression that decision looks like, but the underlying point is the same — every minute spent on a route your mount has out-grown is a minute you are not building the next tier of the collection.
Common Collection Mistakes and How to Avoid Them
Most of the bad patterns players fall into come from treating the collection as a checklist problem. The game is closer to a resource-allocation problem, where the resource is mount speed and the goal is to spend it on the route that opens the next route.
Mistake 1 — Saving Mutations for a "Perfect" Mount
Holding mutations in reserve until you hatch a mount you are happy with is a losing strategy, because you do not yet know what "perfect" looks like in a game that does not publish a species list. A mid-tier mount that you fully mutate today will reach zones a higher-tier mount you have not mutated cannot, and the experience you gain reaching those zones will inform what you actually want from your next hatch. Mutation is not a reward at the end of the run; it is the engine of the run.
Mistake 2 — Spreading Speed Across the Whole Roster
| Strategy | What it produces | When it works |
|---|---|---|
| Deep investment in one mount | One mount that can reach rare zones | Early game, when you have not unlocked those zones yet |
| Even investment across many | Many mounts that can all reach mid zones | Late game, when "mid" is no longer the bottleneck |
| Heavy investment in two mounts | Two mounts that can both reach rare zones | Mid-to-late game, when reliability matters more than peak speed |
The early-game mistake is the third row, not the first. Two invested mounts only matter once rare zones exist for you to alternate between; before that, the second mount is a luxury you cannot afford. In practical terms, your resource pool during the first 3–4 collection tiers is barely enough to push one mount past the rare-zone threshold, so any split between Mount A and Mount B leaves both stuck in mid-tier biomes where they compete for the same spawns. Save the dual-mount rotation for the moment your tracker shows rare-zone access unlocked, then redistribute leftovers into the second build.
Mistake 3 — Trusting Named Lists From Other Games
Roblox hosts several games whose titles contain the words "Ride a Dino," and community videos and third-party wikis for those experiences will sometimes surface in search results for this one. The collection rules, the species list, the rarity tiers, and the mutation names that appear in those sources do not apply to placeId 131652231424227, which is the experience this guide covers. The all-dinos checklist entry keeps its recommendations generic for that reason; if a list somewhere else names a specific dinosaur or a specific number, treat it as a different game until the official Roblox page confirms it.
Frequently Asked Questions
What is the fastest way to start a ride a dino collection?
Replace the starter mount as quickly as possible, because your first hatched mount is the one that determines which egg zones you can reach on day one. Spend your first 20-40 minutes hatching rather than walking the full map; once you have a mount that is meaningfully faster than the starter, your search radius expands and the rest of the run accelerates on its own.
How do I build a ride a dino dino collection without paying for the radar pass?
The Infinite Radar pass is the only paid item the developer sells, and it only removes the egg-search step, not the hatching or mutation steps. Without it, learn two or three reliable egg routes by playing a few sessions and recording where you found eggs. After that, the search step is mostly memorisation, and the rest of the collection loop works the same with or without the pass.
What should I track in a ride a dino collection tracker?
Track four things and nothing else: the egg location you cleared, the community rarity label of the hatch, the mutation count on the mount, and the highest-tier egg zone that mount can currently reach. Anything beyond those four fields is decoration, and decoration is what causes trackers to be abandoned within a week.
Can I complete the ride a dino collection in a single session?
Egg-clearing a single session is realistic, but completing the full roster in one sitting is not, because the loop's progression is gated on mount speed and that resource takes multiple sessions to raise to the level needed for the rarest eggs. Plan on a few short sessions of egg-hunting and mutation, not a single marathon.
Does the ride a dino collection reset when the developer updates the game?
The official Roblox page shows an update landed on 2026-10-12, only thirty days after launch, and the developer has not stated whether future updates will reset existing collections. Until that is published, treat every patch as a risk to your current roster, and avoid investing real-money purchases (the Infinite Radar pass is the only one) on the assumption that progress is permanent.